External Wall Insulation
External wall insulation (EWI) is a great solution which will both insulate and protect your home.
EWI involves fixing insulation boards to the exterior of the building. The most common material is expanded polystyrene (EPS) similar to that used in packaging. This typically has a thermal conductivity of 0.032W/mK meaning at least 90mm thickness is required to achieve a U-value of 0.3.
A more advanced (and more expensive) material is phenolic foam which has a lower thermal conductivity of 0.021 W/mK meaning only 50mm is required. This is particularly useful where you have limited roof overhang, where it can avoid the need for expensive modifications to the roof. PIR boards aren’t suitable for external insulation because of their sensitivity to moisture and UV.
The foam boards are usually glued and fixed to the wall before coating with a weatherproof render.
External wall insulation isn’t a DIY job unless you have trades experience. The instructions below are intended to help you to understand the process and recognise the pitfalls, to help you select and monitor a suitable installer.

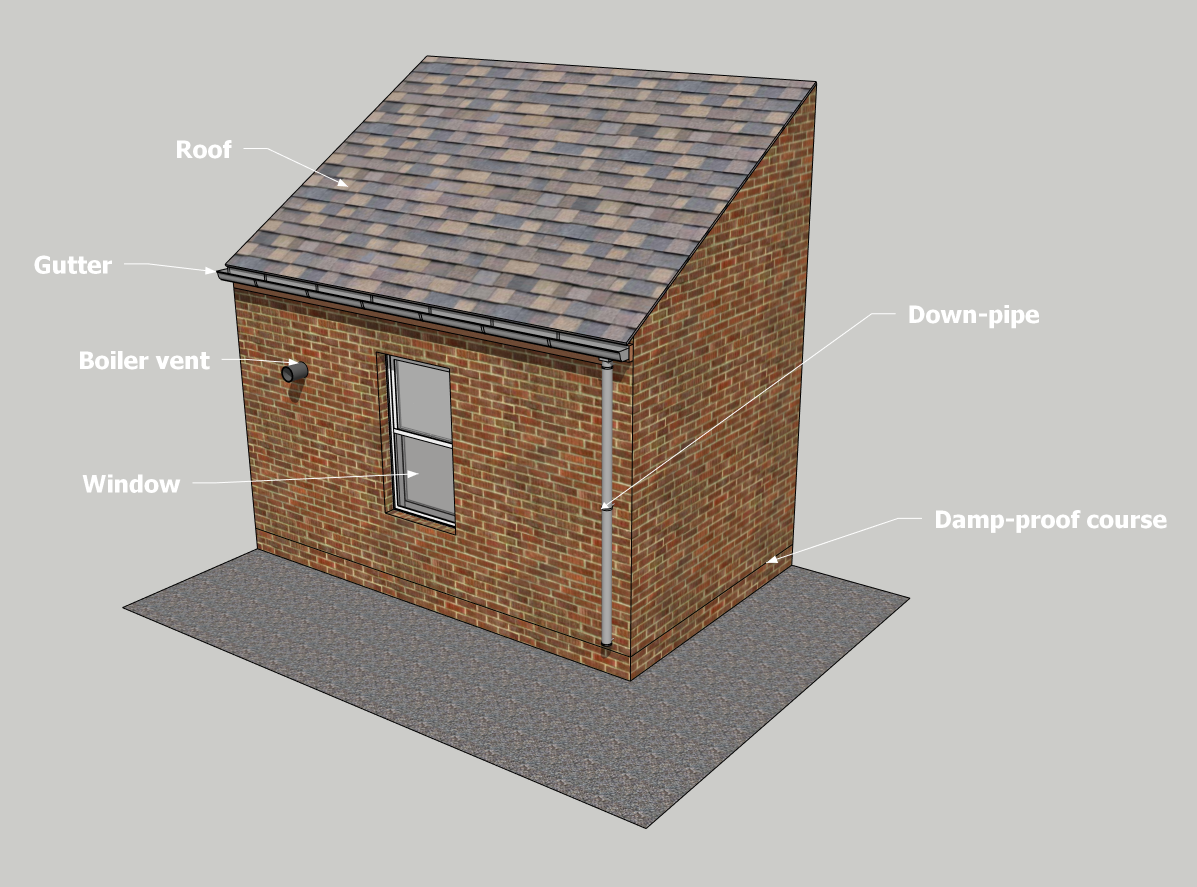
Typical external wall insulation system using Kingspan K5 phenolic insulation
Getting Started
The image shows some key features that will determine how you approach your EWI project. The insulation will thicken the walls so anything currently attached to the outside face - gutters, down-pipes, electrical boxes, vents, etc. - will need to be moved to avoid gaps in the insulation layer.
The damp proof course should be used as a guide, with the main insulation system installed above the DPC. If the internal floors are above the DPC there’s no need to insulate beneath because this strip of wall will adjoin the unheated sub-floor space. If you do need to insulate beneath the DPC a different insulation system with good moisture resistance (such as Kingspan GreenGuard) should be used. Take care not to block any vents if doing this.
If the roof doesn’t have sufficient overhang you will need to extend it as described below.
Step 1 - Extend Roof
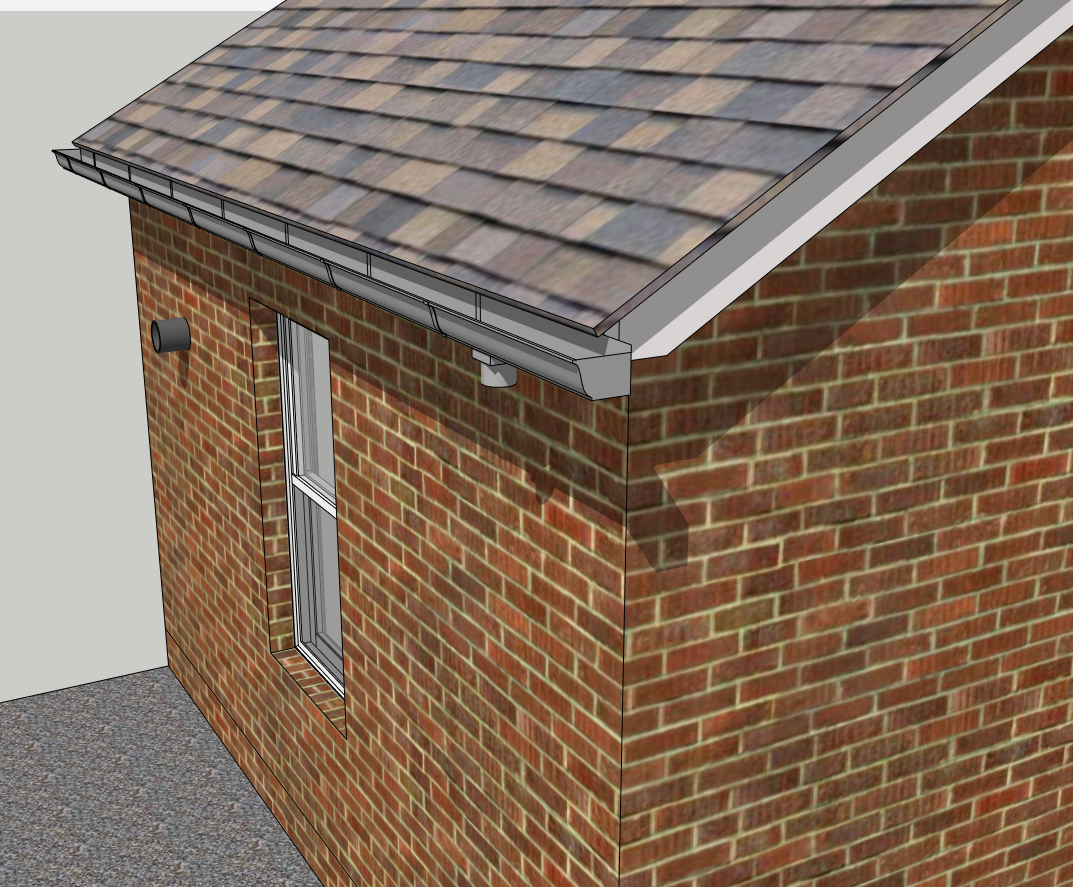
One of the most common and dangerous errors when installing EWI is failing to ensure the roof has sufficient overhang. The installer can cut costs by leaving the existing roof and guttering in place, but in many cases this will leave it directly above the new insulation, meaning leaks can get behind the insulation and into the brickwork. This can cause mould, rot and undeperforming insulation.
The Insulation Assurance Authority recommends that the lip of the roof overhangs the finished face by at least 40mm. If your existing roof doesn’t provide that clearance it will need to be extended. The eaves can be extended using spliced extension pieces, and the gable end can be extended using a “roof ladder” as shown.
N.B. The roof tiles have been hidden in the image for clarity but only those in the modified area will need to be removed then replaced.

Step 2 - Extend Gutters
If you’ve extended the roof, the gutters will need to be moved. Leave down-pipes off for now so they don’t get in the way of the new insulation.
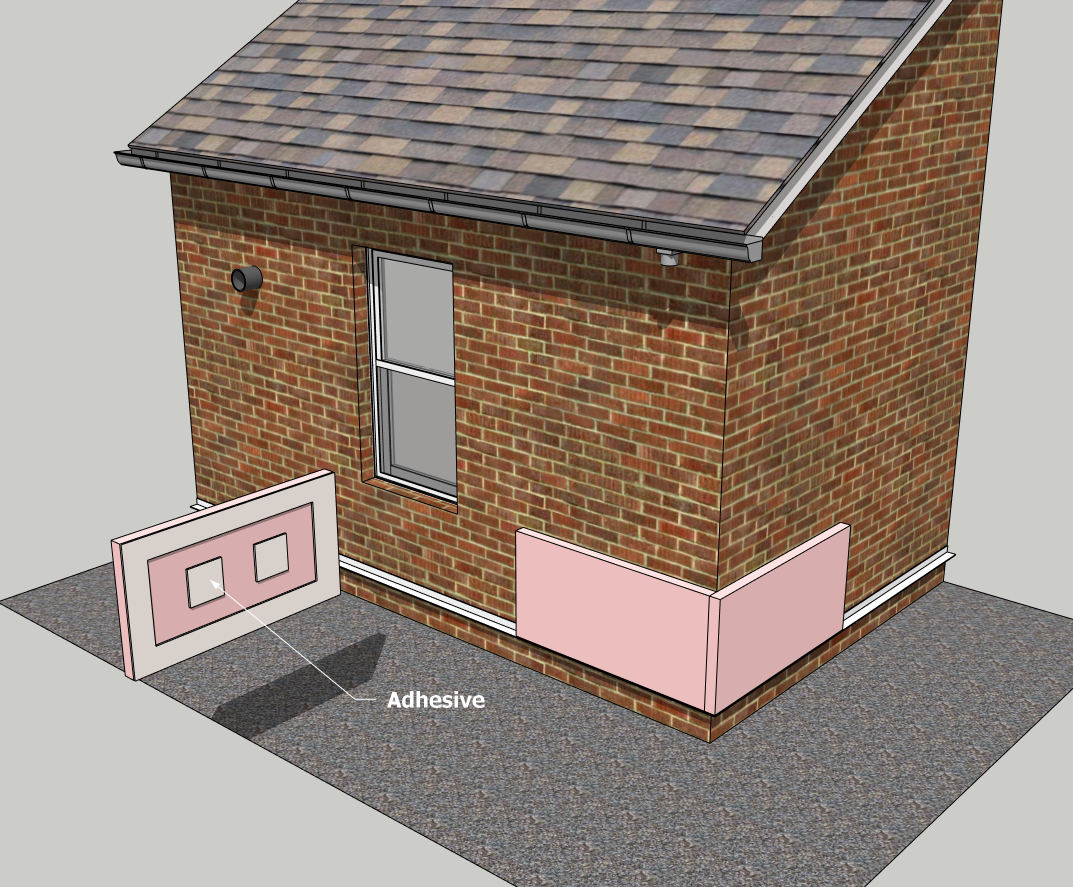
Step 3 - Install Tracks
The bottom edge of the insulation boards are supported by a tray or “track”. This is usully plastic and is glued to the brickwork before screwing through to fix.
Several alternatives are available, but make sure that you choose the right width for the boards you’re using. Good tracks also include a “drip bead” to encourage water to drip off rather than tracking back towards the wall.

Step 4 - Glue boards
The first row of boards can now be installed using a suitable adhesive. This needs to be applied around the full perimeter of each board, with a couple of dabs in the middle as well.
Start at any external corners. Push each board into place, using a level and straight-edge to get the joints accurately aligned.
Step 5 - Glue boards
Continue the process for the rest of the boards, cutting to fit around windows and other openings.
The interor surfaces of window openings should also be insulated with thinner insulation boards to avoid cold bridges.

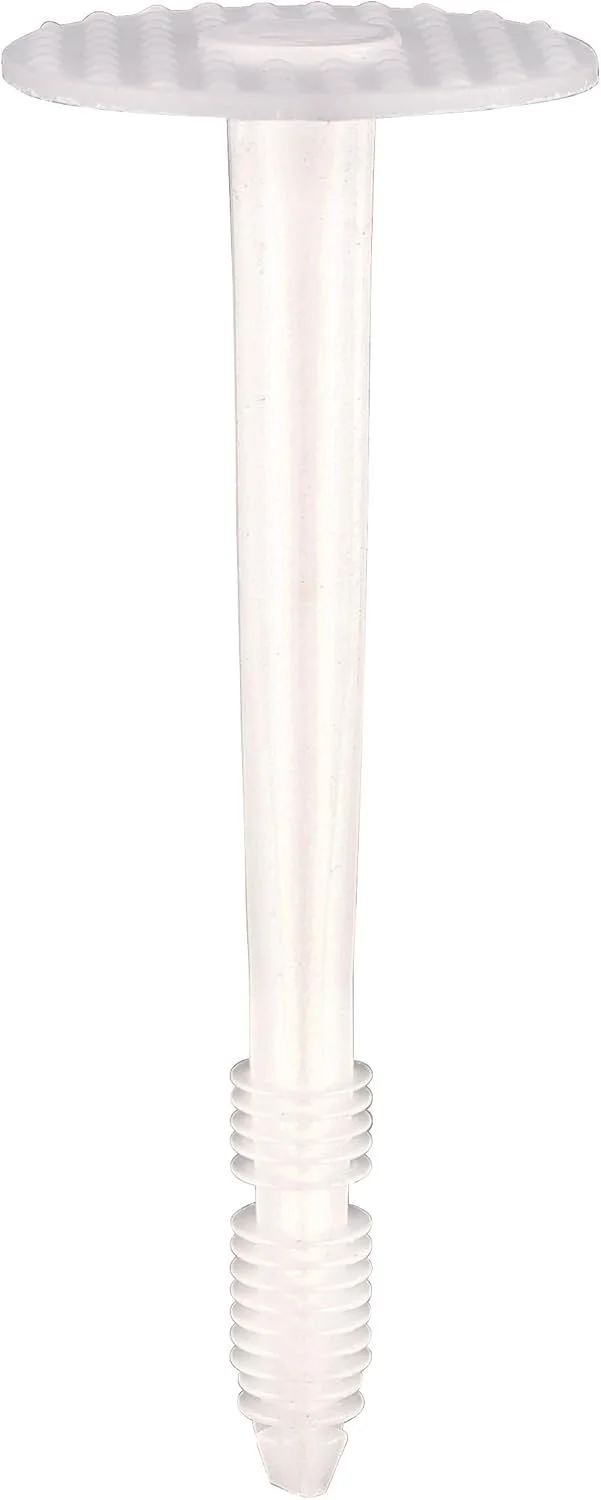
Step 6 - Fixings
The boards also need to be mechanically fixed to the wall for durability. Many proprietary fixings are available for this but try and choose plastic ones to avoid thermal bridges.
You’ll need to drill holes through the boards and into the brick before inserting the fixings and hammering in the centre piece to lock them in place.

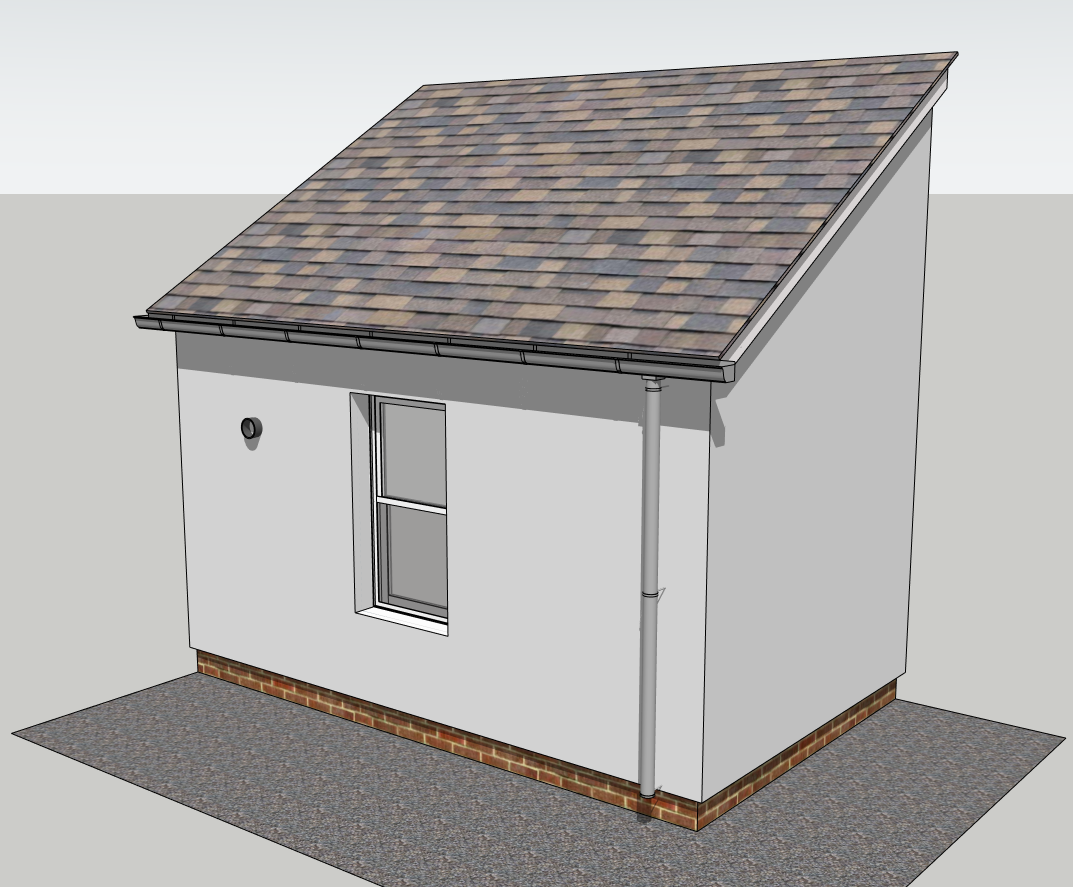
Step 7 - Rendering
The project is finished off with a coat of protective render. This is often applied in two parts - a waterproof base coat (usually reinforced with fibreglass mesh) followed by a decorative finishing coat.
Once this is complete fixtures such as down-pipes can be reinstalled.
Tool Kit


Our other step-by-step guides


