Internal Wall Insulation
Insulated Plasterboard on Battens
One of the simplest and most cost-effective forms of internal wall insulation is insulated plasterboard. This can either be glued to the wall (known as the “dot and dab” method) or mechanically fixed (screwed) onto a grid of timber battens as described here. Neither method is suitable where there is active damp penetration through the wall, but mechanical fixing is more tolerant to small amounts of moisture, making it suitable for single-leaf brickwork which is more prone to damp than cavity walls. However, if you can’t guarantee that the wall is completely dry then you may be better off with a vapour-open insulation system such as wool between battens.
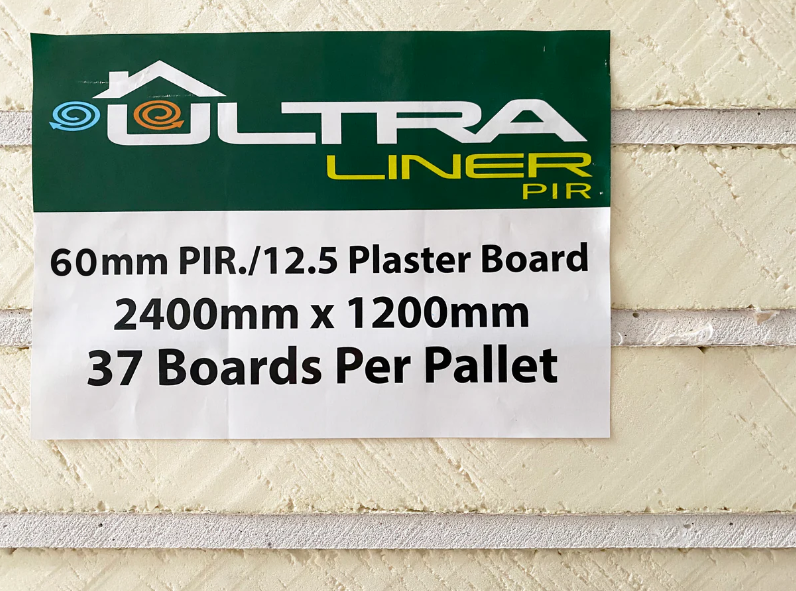
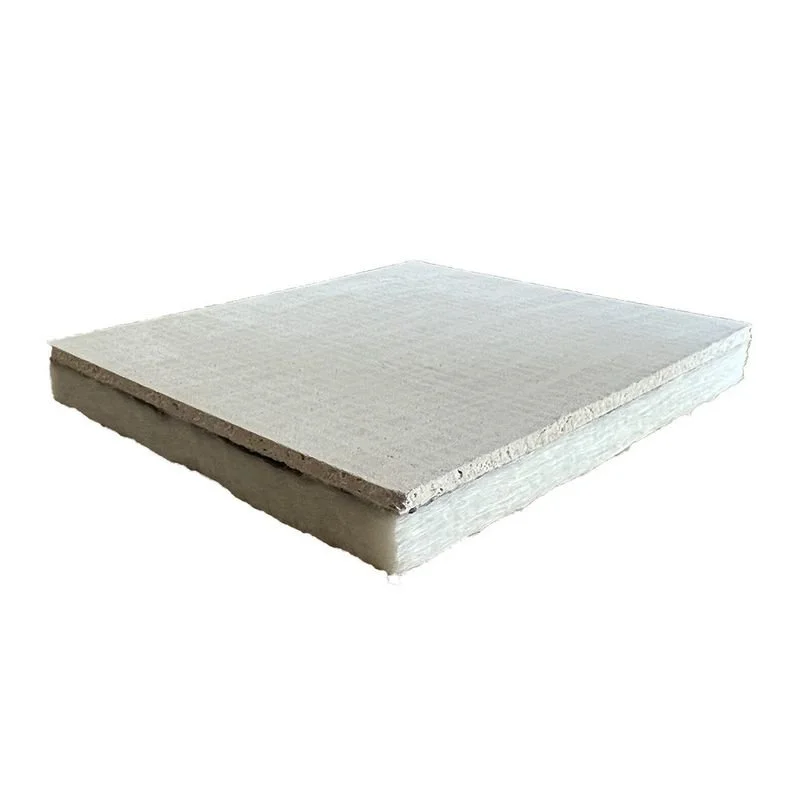
Insulated plasterboard comprises a sheet of foam insulation bonded to gypsum plasterboard. If fixing to a single-leaf brick wall, in most cases you’ll need 72.5mm thick insulated plasterboard to achieve the required U-value of 0.3. Of this, 60mm is the insulation and 12.5mm is the plasterboard.
There are several suitable products for this method including Kingspan Kooltherm K118 and Celotex PL4060. The instructions below are generic and should be suitable for most types, but be sure to review the manufacturer’s documentation to confirm the required thickness and suggested installation details.
N.B. There’s a “shopping list” at the bottom of this page with links to the products you’ll need for this project.

Celotex PL4060 Insulated Plasterboard
Step 1 - Preparation
Remove any items fixed to the external walls (radiators, light switches, plug sockets, skirting boards, curtain rails, etc.) Strip off the existing plaster, back to bare brick.
N.B. It’s possible to install new insulation on top of existing plaster so long as it’s dry and in good condition. However, it’s better to remove the plaster so you can inspect the brickwork for any damage or water penetration. You will also give yourself a bit more floorspace.

Step 2 - Attach Battens
Attach a grid of treated softwood battens to the wall. These should be at least 25mm thick and 50mm wide. Start with horizontal strips along the floor and ceiling then infill with vertical pieces at 600mm centres. Also frame around any openings such as windows.
The battens should be screwed into the brickwork at no more than 600mm centres. Concrete screws can be installed into good quality brick without Rawlplugs. A 7.5mm diameter concrete screw will usually require a 5mm pilot hole.
If the walls are irregular it’s essential to “pack out” the battens with shims so that they are as straight and vertical as possible. A spirit level and/or laser lever will be useful for this purpose. Strips of damp-proof material can also be sandwiched between the battens and the wall as an extra protection against rotting of the timber.
One of the benefits of this method is that the battens form a small void behind the insulation where electrical cables can be routed, without cutting into either the brick or insulation. You may need to cut notches in some of the battens for cables to pass through.

Step 3 - Install Insulated Plasterboard
Next, prepare the insulated plasterboard sheets by cutting to size and adding holes for windows and any other services. The sheets should be sized to leave 5mm gaps at the top and bottom. The sides of the panels should line up with the centres of the vertical battens.
The most common size for insulated plasterboard is 2400mm by 1200mm which will reach to the ceiling of most rooms, but if you have high ceilings you’ll need horizontal joints as well. In this case, additional horizontal battens should be added to support the edges of the panels.
To mount the panels, drywall screws should be drilled through the panels and into the timber battens around the perimeter of each sheet (top, bottom and side edges). The screws should be no more than 300mm apart and should be long enough to penetrate at least 22.5mm into the battens, without being so long that they drill into the brick. For 72.5mm insulated plasterboard on 25mm deep battens you will need 100mm long screws.

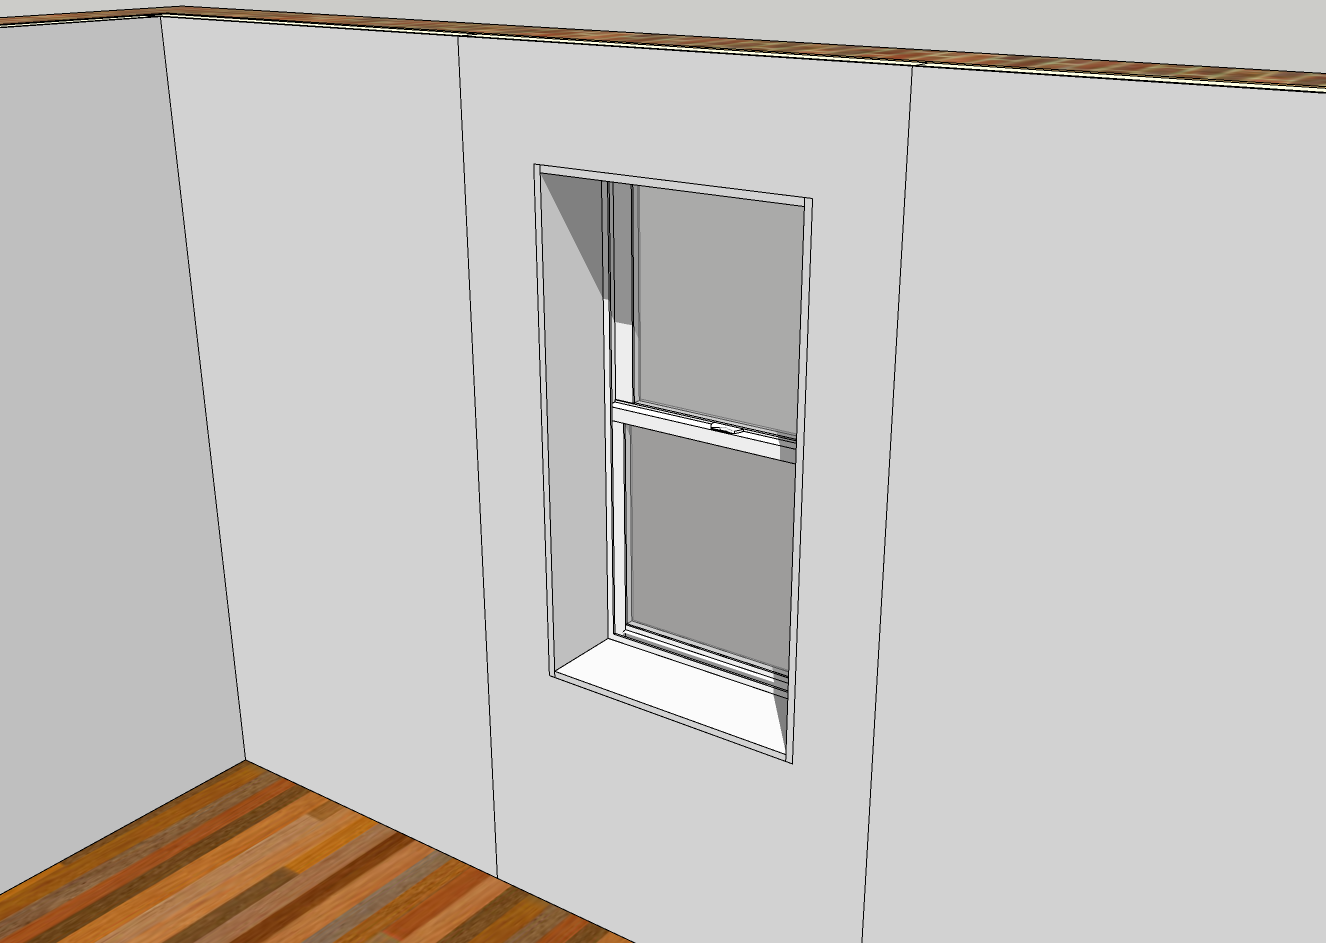
Step 4 - Window Reveals
It’s essential to include insulation around the window reveals to avoid thermal bridges which could cause condensation and mould growth.
Typically there won’t be space to include full thickness insulation around the window reveals. Normal insulated plasterboard is available in thicknesses down to 37.5mm but depending on the size of the window frame you may need to go thinner than this. Special extra-thin PIR boards down to 20mm thickness are sold specifically for windo reveals (see link below).
Step 5 - Seal Joints
Before plastering, all joints should be sealed. The 5mm gaps at the top and bottom of the insulation boards should be filled with expanding foam. Joints between boards should be covered with “scrim” tape suitable for plastering over. Holes for plug boxes or other services should be made as airtight as possible using tape and/or foam as appropriate. External corners around windows can be reinforced with metal inserts.

Step 6 - Finishing
The wall can now be plastered and painted.
Window sills, skirting boards, radiators plug sockets, curtain rails and anything else can be reinstated.

Tool Kit


Our other step-by-step guides


